
Have you ever handed a child your iPhone to play a game, only to find that they had somehow opened up your Insta feed or email instead? Or worse, having got into your photo gallery and deleted all the pics of your last trip to Manali?
Do you often get distracted by accidental gestures while working on important projects and wish the rest of your device’s features would just shut up for a second?
Been there, done that.
Lucky for us, Apple has a quick and easy fix for these problems, and it comes in the form of an Accessibility feature called ‘Guided Access’.
What is Guided Access?
It is a feature that limits users to one specific app and stops them from switching over to another app or returning to the Home screen when they don’t mean to. So during a Guided Access session, you can’t open or view any other apps on your device. It also stops you from accidentally tapping on certain areas of the screen, which is especially useful if the app has banner ads at the top or bottom.
So whether you’re using a reading app, drawing app, videogame, or music app, Guided Access will make sure that your attention stays fixed on that app.
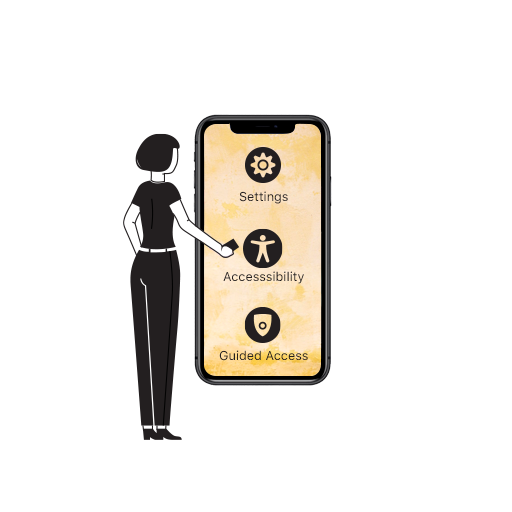
Sounds great! How do I set it up?
- Go to Settings > Accessibility, scroll down and tap on Guided Access.
- Toggle ON Guided Access.
- Tap Passcode Settings > Set Guided Access Passcode.
- Enter and re-enter a six-digit passcode. This is needed to end a Guided Access session.
- From here, you can also turn on Face ID or Touch ID as a way to end a session.
Done! So how does this work?
- Open the app you want to use
- If you have an iPhone or iPad with a Home button, triple-click the Home button. If you only have Face ID, triple-click the Side button to launch Guided Access.
- Use your finger to circle areas of the screen that you would like to make inaccessible. You can even resize or move the circle, or tap the X to remove it.
- Then, click on Options in the bottom left corner and choose whether you want to grant access to the Volume buttons, touch screen, Sleep/Wake button, and motion.
- Tap the Start button at the top of the screen to begin.
- To end a session, triple-click the Side or Home button, enter the Guided Access passcode and tap End.
Once Guided Access begins, a user will not be able to leave the specific app that you’ve locked it to without entering the pre-set passcode.
That’s all there is to Guided Access. If you have any more questions about this feature, talk to me in the comments below!